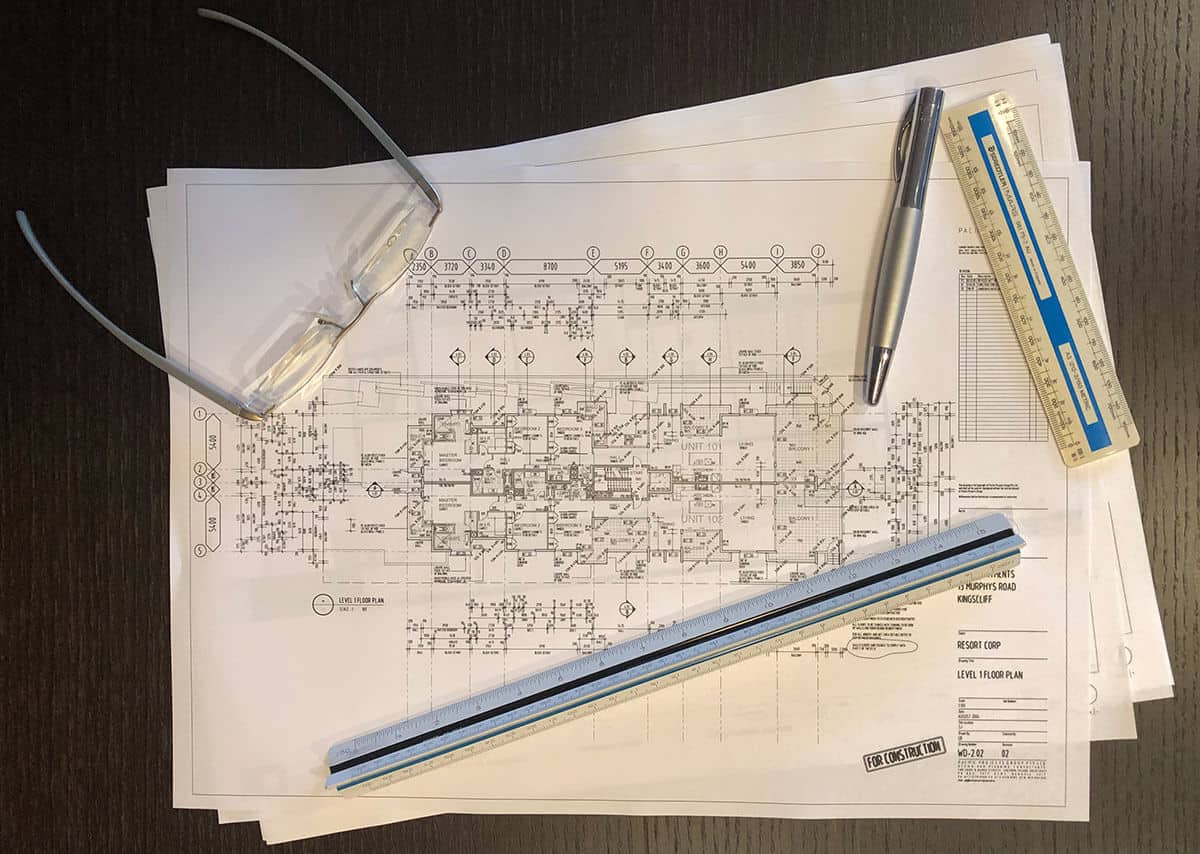
In Part A of this guide (read here), drawing conventions governing sheet sizes and defined views were explained. This second and final instalment explains measuring techniques and how to interpret drafting annotations, symbols and graphics used in architectural drawings.
Methods of Measurement
One of the key functions of a set of architectural drawings is the ability to depict a large structure as a series of much smaller 2D graphic illustrations. This is achieved by using relative scales.
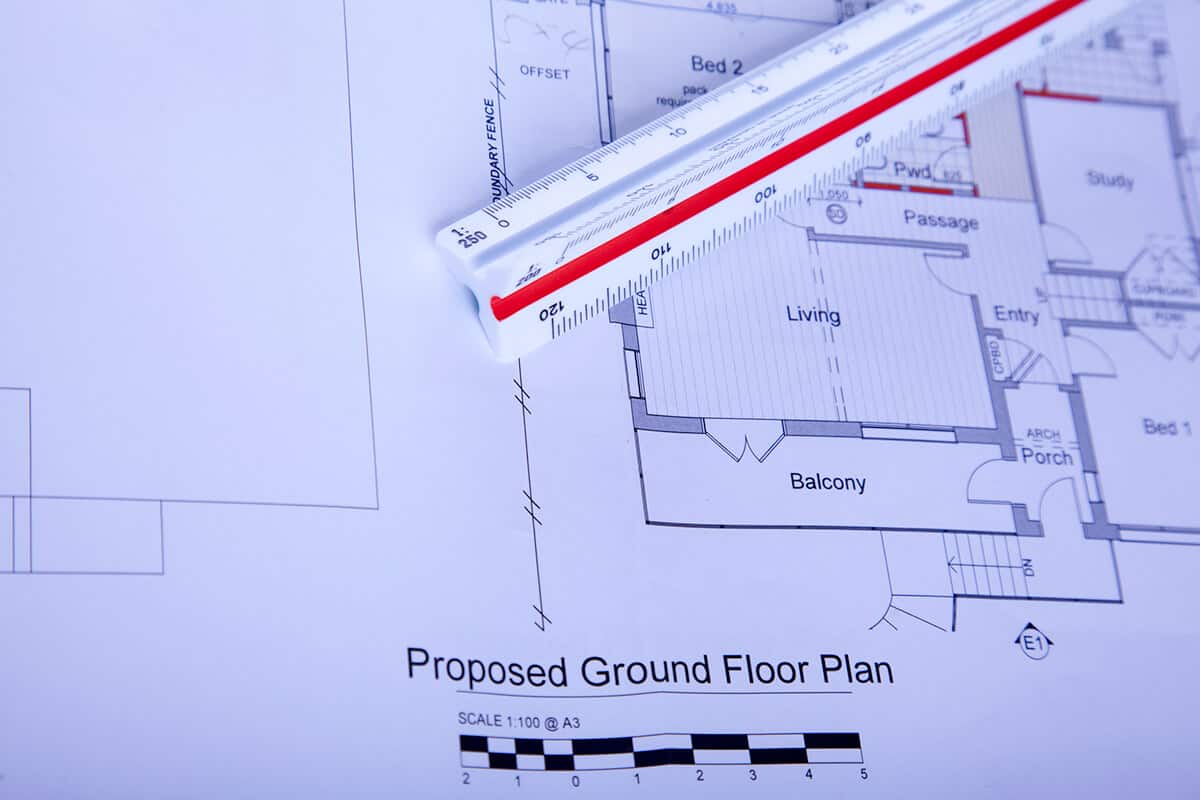
A lifesize image is represented by a scale of 1:1, however as it is not practical to draw most building elements at this full size scale, reduction factors are used to shrink the elements to a size that can readily be produced on drawing sheets. Thus, a floor plan produced to a scale of 1:100 is one hundred times smaller than the actual built plan. Or described another way, 1cm (or any other unit measure) of length on the scale plan equates to 100cm at full size.
Architectural drawings can be produced at any scale, however for ease of use and interpretation, in countries using the metric system, most drawings use reduction factors based on various decimal versions of the metric divisible numbers 1, 2 or 5, eg 1:100, 1:20, 1:5.
In some case more complex scales may be used based on fractions or multiples of these numbers, ie 1:2.5, 1:125 or 1:75
To simplify the determination of a measurement from an architectural drawing produced to a scale, rather than having to arithmetically calculate the result using the defined conversion factor, scale rulers are readily available that provide the result immediately.

To use a scale ruler, it is simply a matter of confirming the drawing scale as identified in the drawing title block, finding the matching scale on the ruler, and then reading the measured length from the architectural drawing using that scale.
Thus, measuring 1cm (or .01m) on a plan produced at 1:50 scale using the same scale on the ruler will immediately show the length to be equivalent to 50cm or 0.5m. Far quicker and easier than attempting to calculate the result.
Architectural drawings are often printed on different size sheets to those intended as the export size.
This is generally done for convenience as most offices have photocopiers capable of printing A3 sheets of paper, however not many have ready access to large scale plotters or printers required to produce larger drawings. This often results in drawings at complex scales that are not represented on a standard scale ruler.
Where this is anticipated by the drawing author, the drawing should contain a scale bar which can be used as a measuring guide regardless of the actual drawing size or scale. This becomes your equivalent of a scale ruler.

If a scale bar is provided, and the drawing has also been printed to the correct nominated sheet size, measuring this bar with a scale ruler will confirm whether the drawing has been produced to the correct size and that no distortion has occurred during the printing process. The electronic processes of scanning and photocopying often results in drawings of slightly reduced size that are not to true scale.
For more detail about the use of scales refer to https://www.firstinarchitecture.co.uk/understanding-scales-and-scale-drawings/
Annotations and Graphics
Whilst the orthographic views depicted on the architectural drawings illustrate the design intent, by themselves they don’t fully explain the design detail.
Additional information is required in the form of notes to describe the materials, codes to identify different components, and dimension strings to show the relationship and offsets between elements in the horizontal and vertical planes.
Drafting graphics and symbols based on well-established conventions are also used to define specific materials or the attributes of a component, such as the direction of a door swing or window opening.
These drafting conventions are covered in detail in AS 1100.301—2008 Australian Standard® Technical drawing Part 301: Architectural drawing – https://www.saiglobal.com/PDFTemp/Previews/OSH/AS/AS1000/1100/1100.301-2008.pdf, however there are some key symbols and conventions that will be of major assistance to you in reading architectural plans without needing the knowledge of a draftsman.
Dimensions
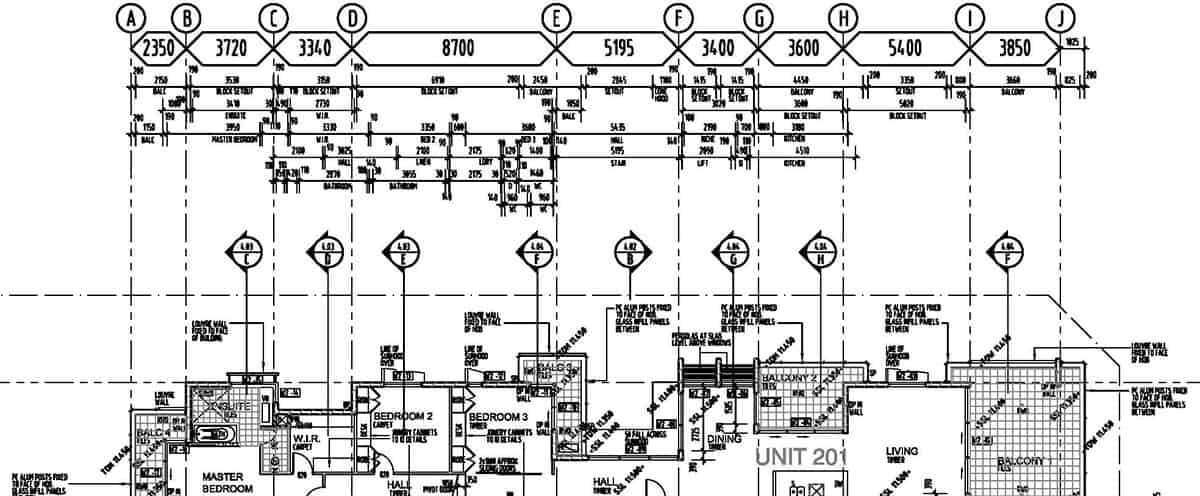
As outlined previously, drawings are often not reproduced to scale, so a vital element contained on all architectural drawings are the annotated dimensions shown as dimension “strings”.

Whilst to the uninitiated these may appear like a mess of unintelligible hieroglyphics, there is order in this seeming chaos.
Dimensions are often associated with grid lines running along the key x and y axes, identified alphabetically on one axis, and numerically on the other. These gridlines are generally aligned with key structural components of the building such as columns or major walls and are consistent for every plan at any level within the building.
They are used to cross reference the relationship between these structural components and other elements such as walls at various levels throughout the building.
The outermost dimension string will identify the spacing between these grid lines.
Consecutive dimension strings will then provide measurements of wall lengths, wall openings, and room sizes from the outermost face of the building to the inner core.
Often descriptions are included under the dimension string to confirm the room name or opening that the dimension relates to.
Written dimensions always take precedence over scaled measurements
Cross Referencing Symbols
Architectural drawing sets often contain numerous drawings, which often need to be cross referenced. A typical example is the relationship between the plans and the elevations which when read together define the 3D building form.
To facilitate this cross referencing, circular symbols containing alphanumeric codes provide immediate identification of the related drawing that should be referenced and which drawing sheet it can be found on.
Some of these symbols will incorporate a triangular arrow which identifies the directional view that the referenced drawing will illustrate. Unfilled arrows generally refer to elevations, filled arrows represent sections

3D Visualisation
The ability to visualise a 3D reality from a set of 2D drawings relies on an innate sense of spatial awareness. It can be challenging for some in much the same way as certain people can find their way in unfamiliar surroundings by reading a map, whilst others in the same situation will get hopelessly lost.
As technology continues to advance at a record pace, we are now entering the era of artificial reality that allows us replicate spaces using 3D headsets. (Review our website for a future story on this exciting innovation )
This will undoubtedly have a profound effect on the way Architects present their designs to Clients in the future, and it is highly likely that architectural documentation will also evolve to a 3D format.
However, until that becomes a reality, we will continue to be reliant on 2D architectural drawings to provide the necessary information to create our 3D buildings.
Now that you have tips and tools to assist you in reading architectural drawings, you can take a look at part A of this guide which will help you understand the purpose of the different views depicted on the drawings that constitute an architectural drawing set.


